
Snags
Interior design handover checklist for a 3BHK
A room-by-room handover checklist for interior design: what to check in a 3BHK, who attends, what to photograph, and how to raise each defect as a snag.
A handover checklist for interior design is a fixed, room-by-room inspection the studio walks with the client before the keys change hands. In a 3BHK, check carpentry, laminates and edges, tiles and grout, paint, electrical points, plumbing and hardware in every room, photograph each defect, and agree who chases it and by when, on the spot.
The checklist only works if it is walked the same way every time. On a 3BHK, the walkthrough with the client is the last chance to find what is wrong before the flat becomes their home. Walk room by room, in a fixed order, and treat every defect as a snag to raise on the spot, not a note to remember later.
This guide comes from the team behind DoYourDesign, studio management software for interior design studios. The checklist itself is general trade practice. Use it with whatever your studio runs on today.
When to hold the walkthrough
Hold it before the keys change hands, while your contractors are still on call and before the client’s furniture goes in. Snagging before handover means defects are found while the work is still yours to finish. Anything found after the family moves in is a warranty matter and belongs on a separate list. A snag list that actually closes explains why the two lists should never mix.
Who should attend
- The client, and whoever will live with the details every day.
- The project lead, who is accountable for the project and agrees dates.
- The site supervisor, who knows what was built and by whom.
- The main contractors where possible: carpenter, electrician, plumber, tile mason and painter, so each hears their snags first-hand.
- One person to record, who is not the one walking beside the client.
Walk in a fixed order
Use the same route on every project: entrance and living, kitchen, bedrooms, toilets, balconies, mandir. Inside each room, work top to bottom: ceiling and lights, walls and paint, carpentry, then floor. A fixed order is what stops the second bedroom’s loft being skipped because everyone was talking about the kitchen.
The 3BHK handover checklist, room by room
- Entrance and living room
- Carpentry: TV unit, shoe rack and panelling sit level, with even gaps and no wobble.
- Laminates and edges: edge banding stuck along its whole length, no chipped corners or lifting joints.
- Tiles and grout: tap for hollow tiles, and check for uneven edges, open grout lines and chips.
- Paint: patches, roller marks, touch-ups in the wrong shade, paint on switch plates and skirting.
- Electrical points: every switch, socket, light and fan regulator works, plates sit flush, and TV and data points are where the drawing shows.
- Kitchen
- Carpentry and hardware: every shutter and drawer opens fully and closes square. Hinges, channels, baskets and handles are tight.
- Laminates and edges near the sink and hob, where water and heat find any gap.
- Countertop: joints, and sealing at the sink and backsplash.
- Plumbing: run every tap for a few minutes and check under the sink for leaks.
- Electrical points for the chimney, hob and appliances, at the heights drawn.
- Bedrooms (master first, then each in turn)
- Wardrobes: shutters level, even gaps to wall and ceiling, drawers, rods, lofts and locks working.
- Laminates: the same shade and grain direction across every shutter.
- Bed back panel and side tables fixed firm; bedside switches, AC point and fan working.
- Paint, flooring and door frames, including the door closing without rubbing.
- Toilets
- Plumbing: every tap, mixer, flush, shower and geyser, with no leaks at any joint.
- Water test: pour water and watch it run to the floor drain, with no pooling.
- Tiles and grout filled, silicone along the basin and shower, vanity edges sound near water.
- Towel rails, door lock, exhaust fan, mirror light and geyser point.
- Balconies
- Slope towards the drain, tile skirting, railing fixings, washing machine point and tap, outdoor lights.
- Mandir
- Joinery, shutters and back panel against the agreed drawing, lighting points, and no paint or adhesive marks on stone.
What to photograph
Take two photos of every defect before anyone touches it: one in context, showing where it is in the room, and one close up, showing what is wrong. Then write the spot in words: master bedroom, wardrobe, right end, gap to the wall. A photo shows the defect; a written spot gets the carpenter to the right shutter. How to write a snag spot covers this in more detail.
When the fix is done, photograph it from the same angle. The pair is your evidence.
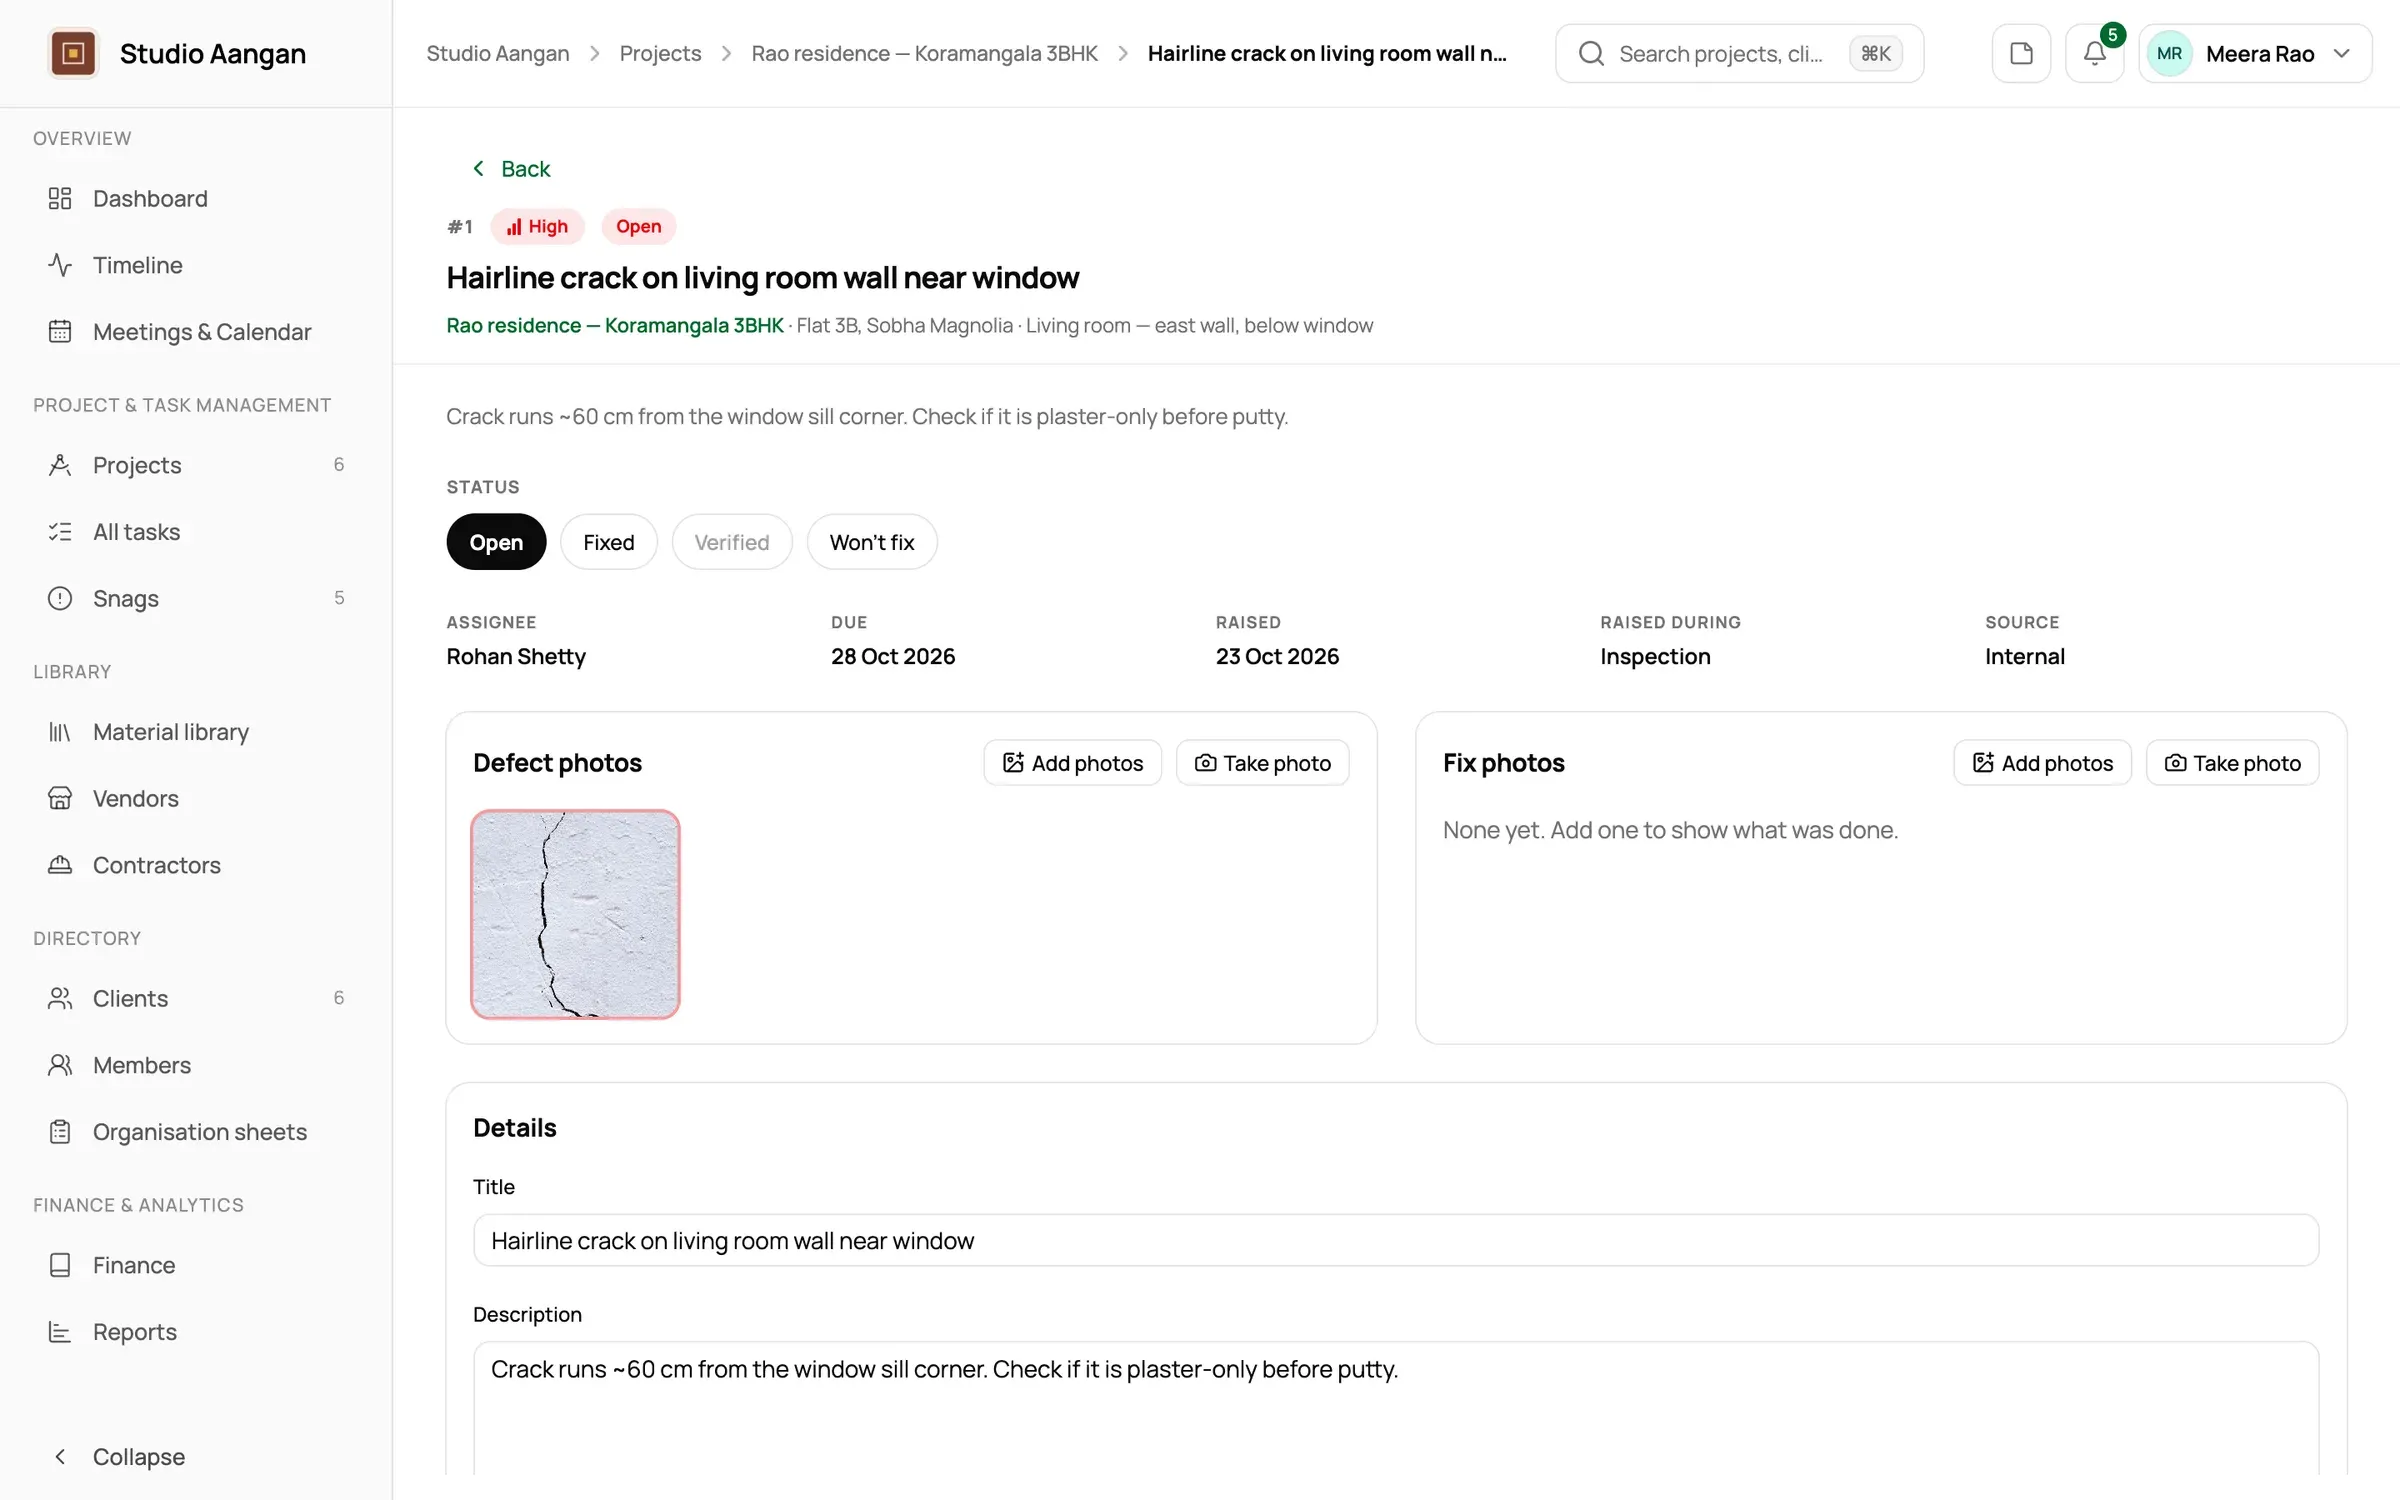
Sheet A-102: defect photo now, fix photo later.
Agree due dates on the spot
For each snag, settle three things while the client is standing there:
- Who in the studio chases it, not just which contractor does the work.
- A due date the client has heard you agree.
- Severity: low, medium or high, as a fact about the defect rather than how loudly it was raised.
If something will not be fixed, say so now and give the reason, such as the natural grain of the stone. A snag closed with a reason is honest. A snag quietly dropped comes back as a dispute.
Fixed is not done
A snag is not closed when the contractor says it is fixed. Someone other than the person who did the work should look at it, compare it with the defect photo, and only then accept it.
Frequently asked questions
What should a handover checklist for an interior design project include?
A fixed room-by-room route, and in each room the same checks: carpentry, laminates and edges, tiles and grout, paint, electrical points, plumbing and hardware. For each defect, record where it is, two photos, its severity, who in the studio chases it, and a due date.
Should snagging happen before or after handover?
Before. Snagging before handover finds defects while the work is still the studio’s to finish. Anything the client reports after moving in is a warranty snag and is best kept on a separate list.
In DoYourDesign, the handover walkthrough happens while the project is still in Execution, so each snag is raised during Inspection, with its Location, spot, severity, an assignee from the project team (never a contractor), a due date and defect photos, straight from a phone’s browser on site. The assignee adds fix photos and marks it Fixed; someone else marks it Verified, and the photos freeze. Won’t fix always carries a reason. Once the project moves to Handover or Completed, new snags are marked Warranty by default. Want to see a handover list close on a project like yours? Book a walkthrough or write to [email protected].